
How to Create AI Nudes, AI NSFW, AI Models, and AI Girls in Four Simple Steps
Introduction
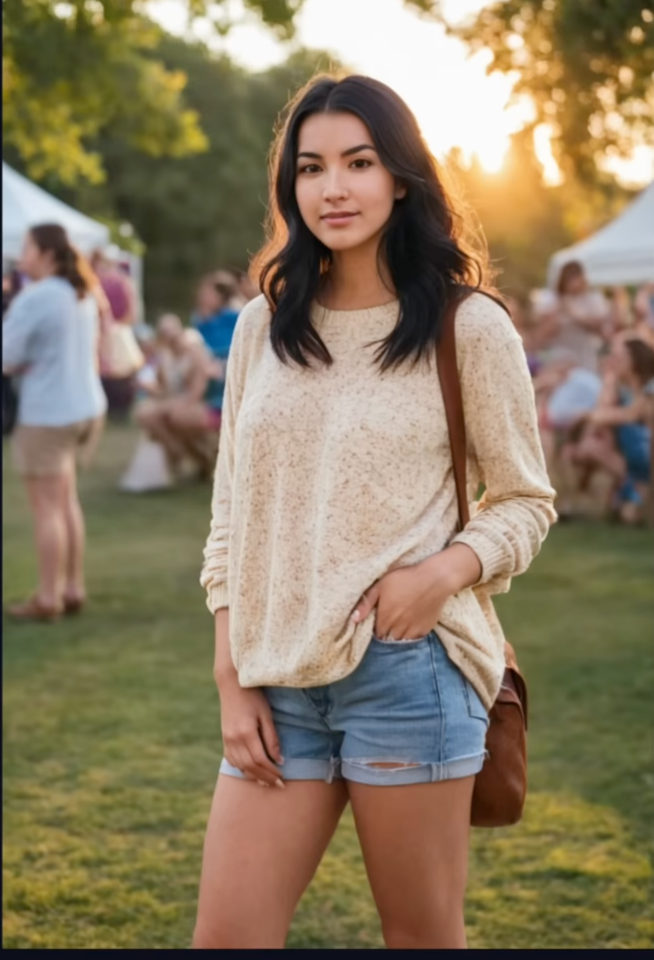
With advancements in AI technology, anyone can create AI nudes, AI NSFW images, AI models, and AI girls with realistic details using Fooocus and Face Fusion. This guide will walk you through the exact steps to generate highly realistic AI-generated models with different poses, outfits, and even videos.
Important Note: The purpose of this guide is to demonstrate how AI tools can generate hyper-realistic content. Please use these techniques responsibly and adhere to ethical and legal guidelines regarding AI-generated NSFW content.
The video demonstrates how to create a realistic AI influencer using a tool called Fooocus, a high-quality AI image generation software. It warns against misusing AI-generated influencers and highlights ethical considerations.
Step 1: Launch Fooocus on RunDiffusion
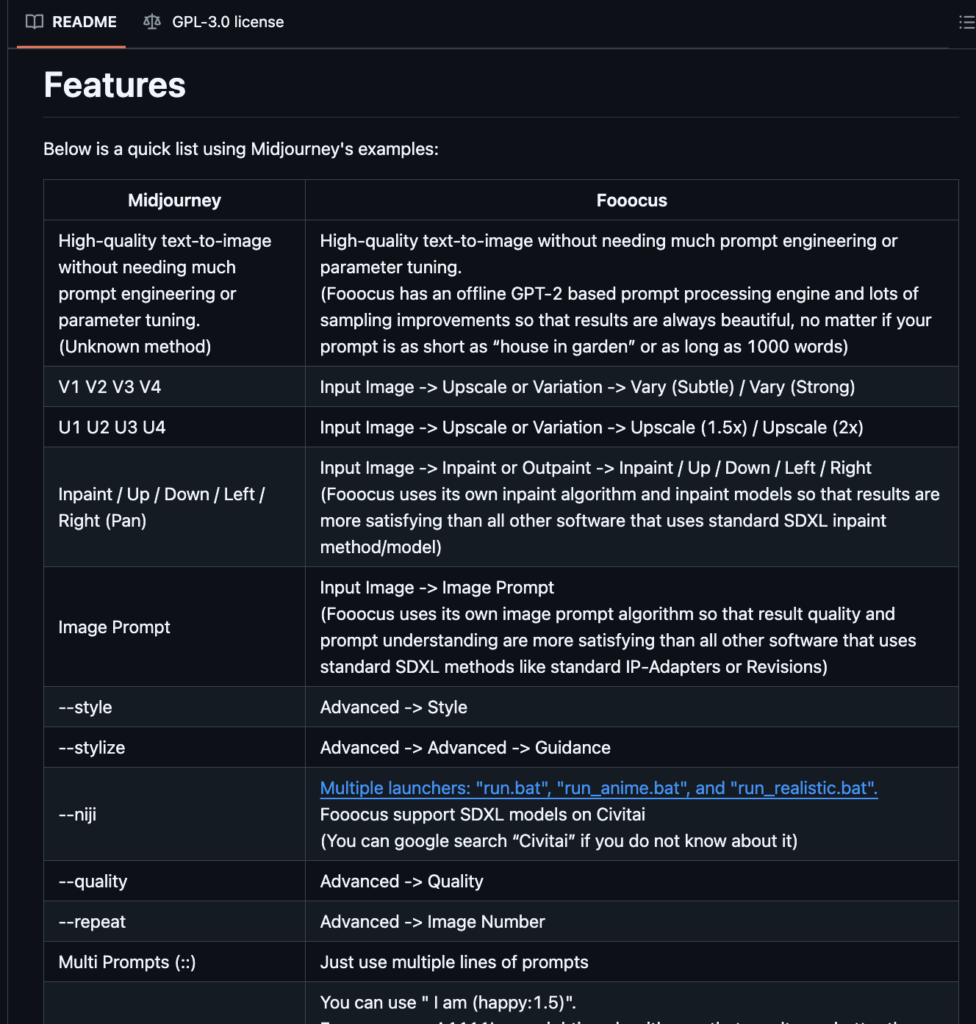
Ways to Access Fooocus
- Install Locally:
- Check the minimum system requirements on GitHub.
- Follow the installation guide (GitHub).
- Use Google Colab:
- Free method but may face runtime issues.
- Link provided here (Colab)
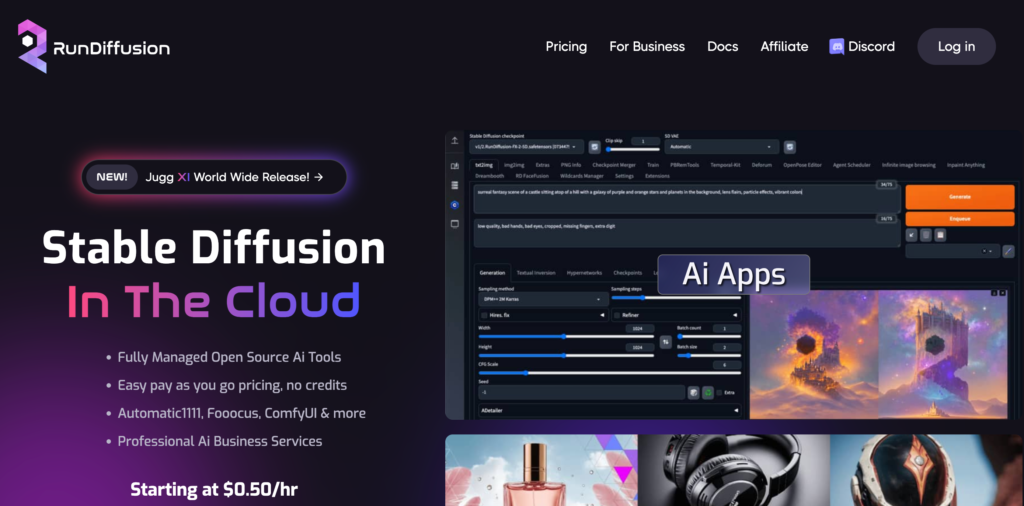
- Use Fooocus on RunDiffusion (Recommended in this tutorial):
- RunDiffusion is a cloud-based platform with Fooocus pre-installed.
- Offers 30-minute free trial; afterward, costs $5 for 10 hours (which can be used at any time).
How to Launch Fooocus on RunDiffusion
- Click the link (Click Here)
- Sign up using a Google account.
- Select “Fooocus” from the list of tools.
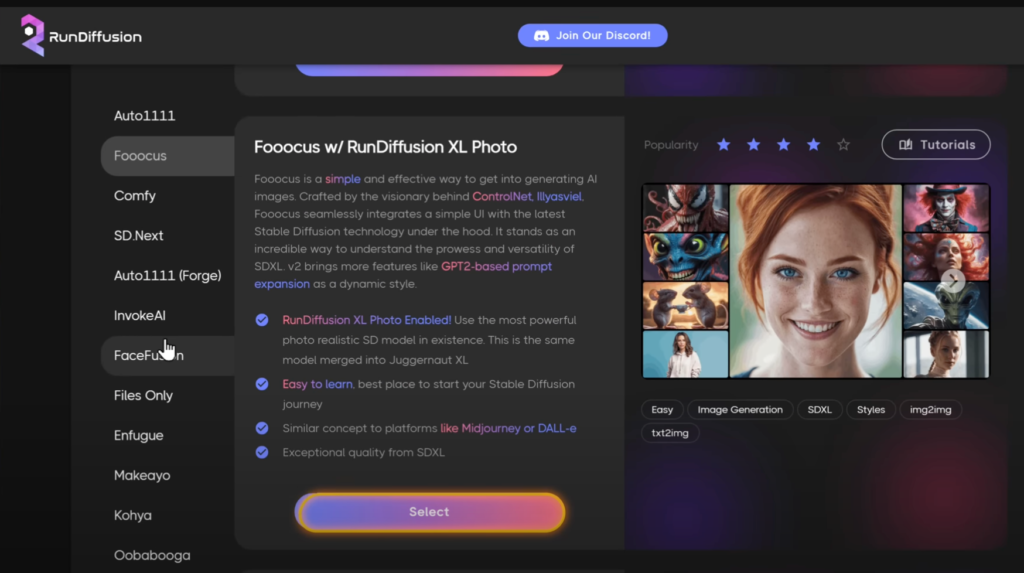
- Click “Launch” and wait for it to load.
- Manage time usage:
- You can pause the timer when not using the tool to save time.

Step 2: Generate an AI Character
- Hide the sidebar to get more workspace.
- Describe the AI character by specifying:
- Clothing style
- Personality traits
- Height, skin color, hair, eye color, etc.
- Use a Description Generator (GravityWrite):
- Click Here.
- Enter details about the AI character.
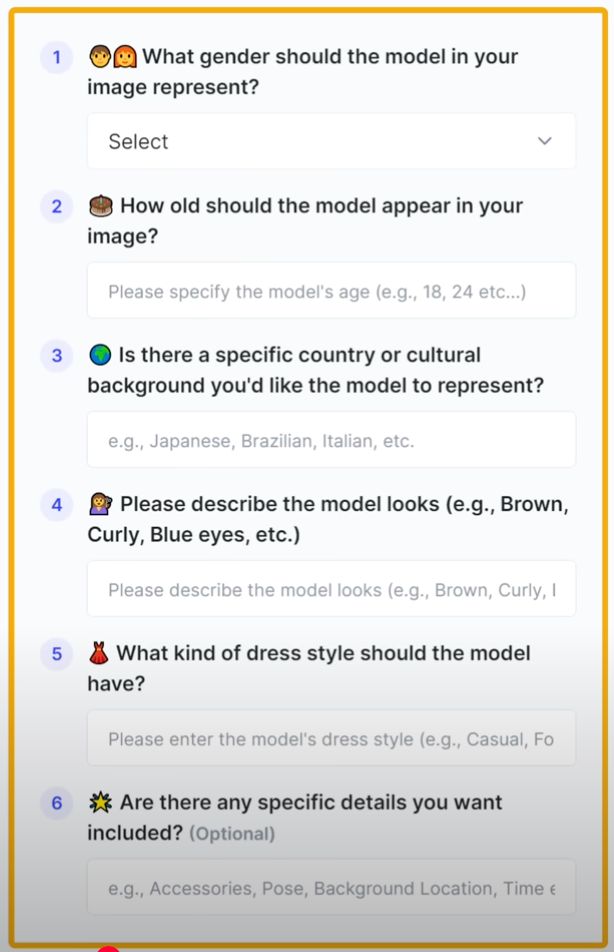
- Generate and copy a description.
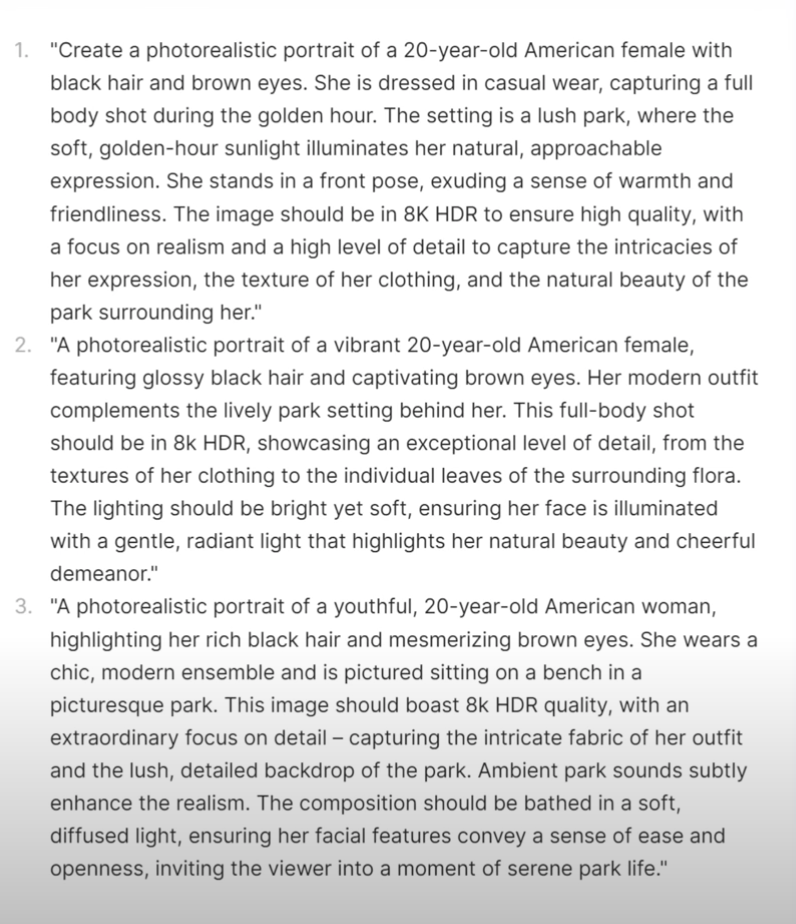
- Paste the description into Fooocus.
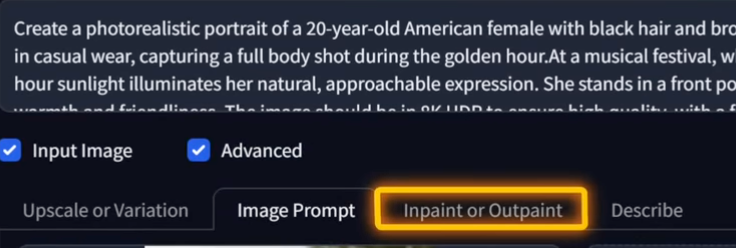
- Adjust Advanced Settings:
- Performance Tab:
- Choose “Quality” mode for the best AI character generation.
- Aspect Ratio: Select 13:19.
- Performance Tab:
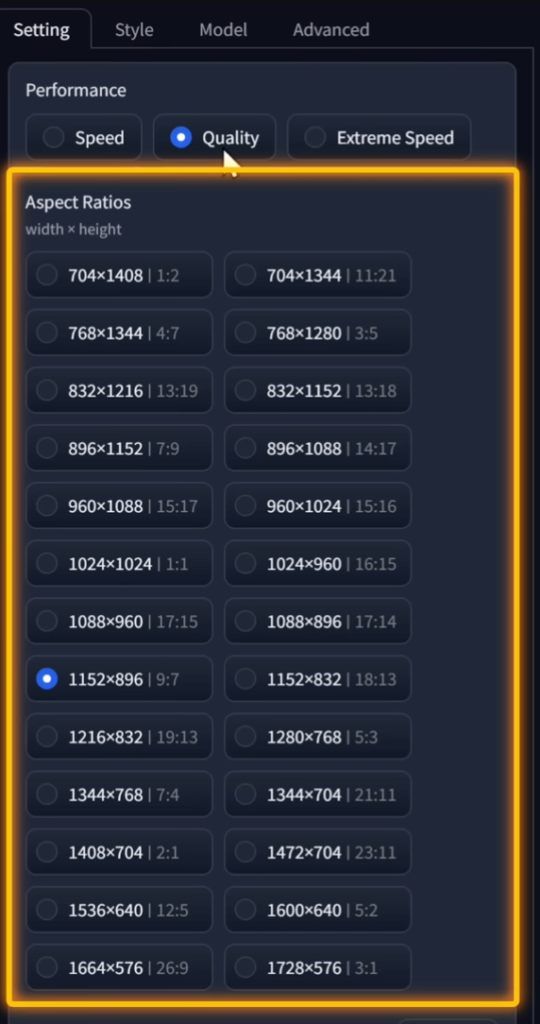
- Number of Images: Set to 4.
- Style Tab: Enable “Focus Photography” for photorealistic results.
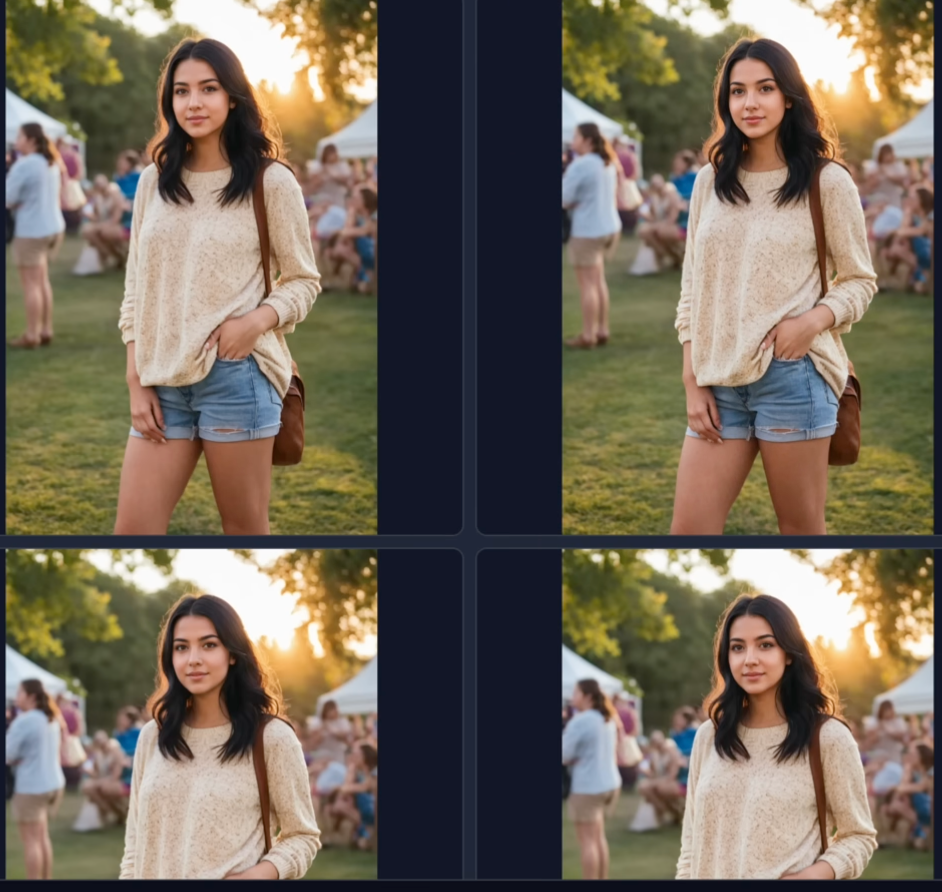
- Generate the AI Character:
- Fooocus will create four different styles.
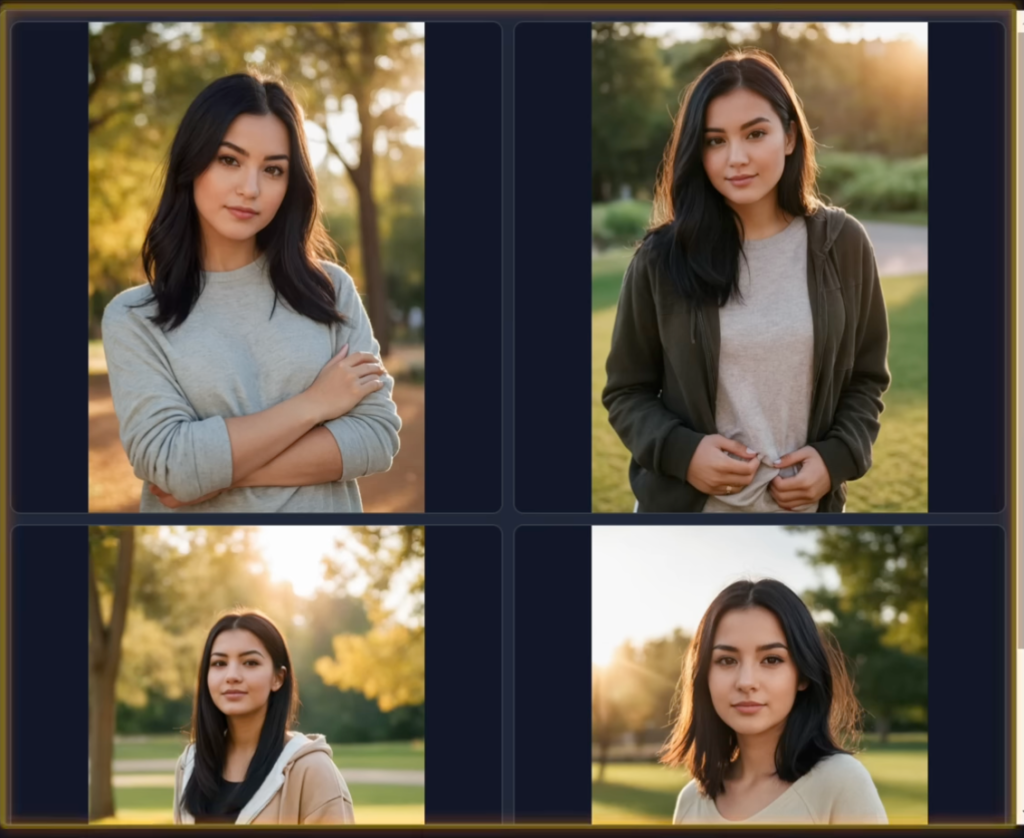
- Choose and download the preferred image.
- Regenerate if needed or modify the prompt.
Key Tip:
To maintain consistency, generate the same AI character repeatedly for all content.
Step 3: Create Different Variations of the AI Character
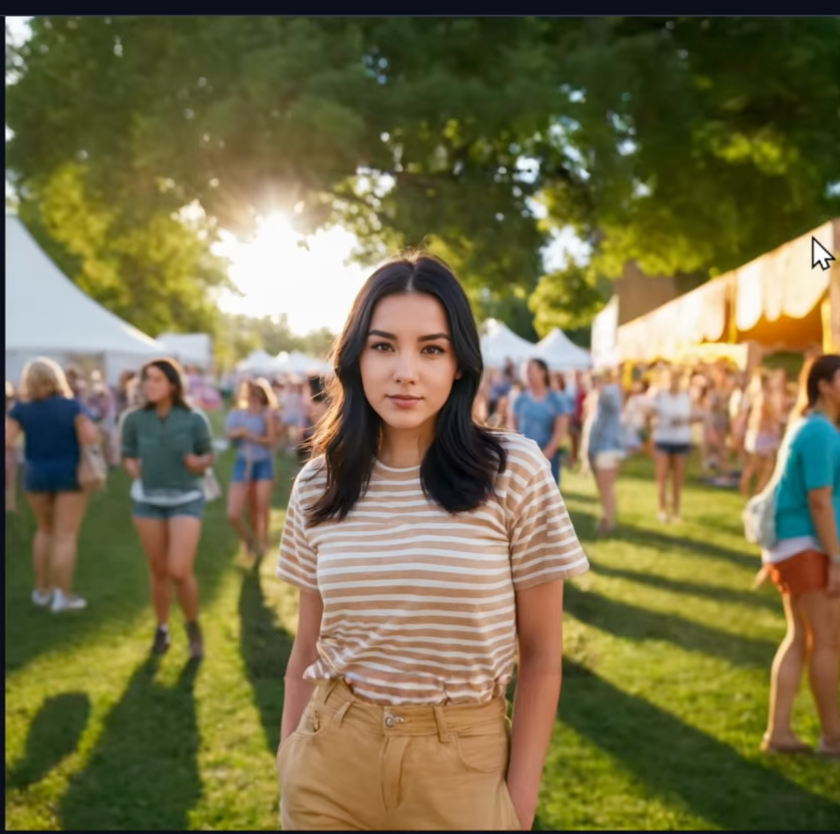
You can modify:
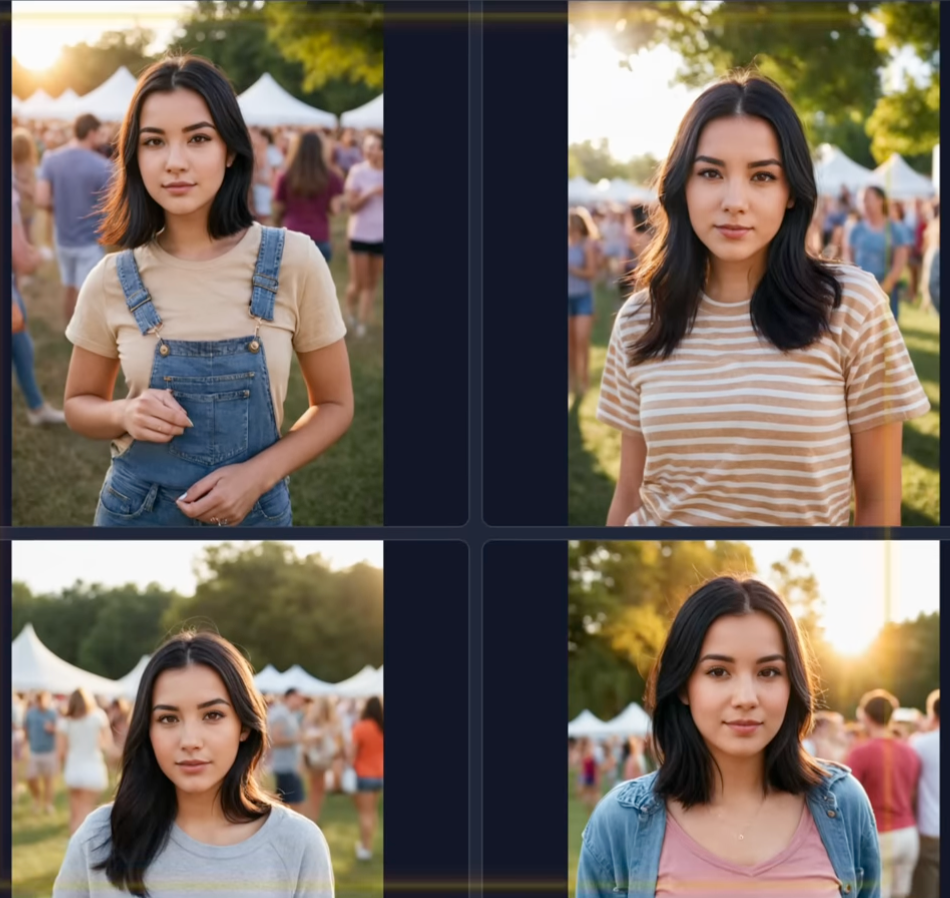
- Backgrounds (e.g., placing the AI character at a music festival or beach).
- Clothing and Hairstyle.
How to Change the Background & Outfit
- Go to Import Image in Fooocus.
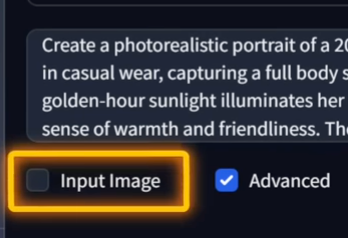
- Upload the AI character image.
- Enable Face Swap.
- Modify the description to specify the new setting.
- Click Generate.
- The AI character will appear in the new setting while maintaining the same facial features.
How to Extend Backgrounds
- Go to the “Extend Image” Tab in Fooocus.
- Upload the AI character image.
- Enable background extension on all sides.
- Click Generate.
- The image will be extended with more background details.
Step 4: Generate Different Poses
How to Create AI Characters in Different Poses
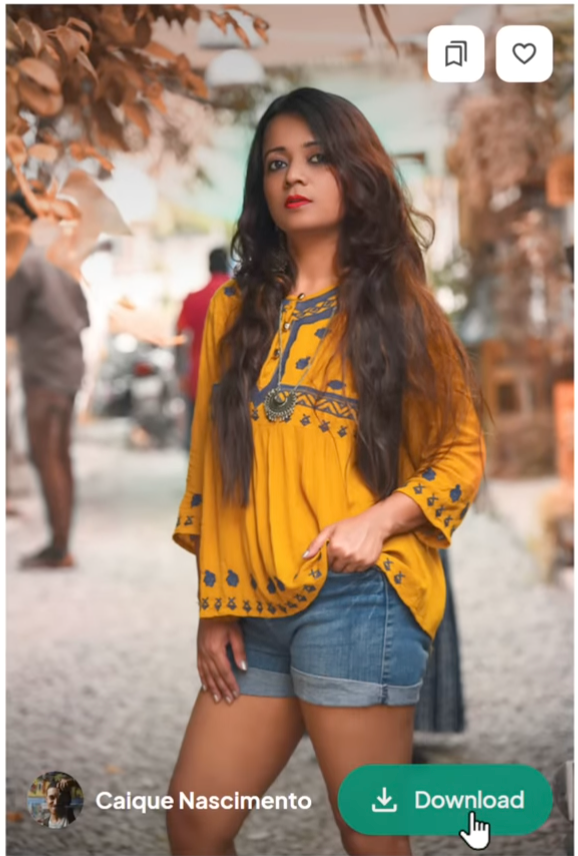
- Find a Reference Image:
- Use free stock image sites like Pexels or Unsplash.
- Search for a portrait with a specific pose.
- Download the reference image.
- Use Fooocus to Match the Pose:
- Upload the reference image.
- Enable Pose Matching (Pyra Canny).
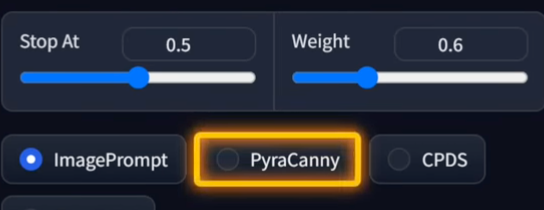
- Click Generate.
- Fooocus will create an AI version in the same pose.
Fixing Face Accuracy
- If the face doesn’t match perfectly:
- Use the Inpaint Tool in Fooocus.
- Brush over the face area.
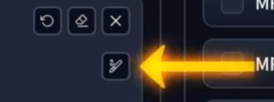
- Select “Improve Detail”.
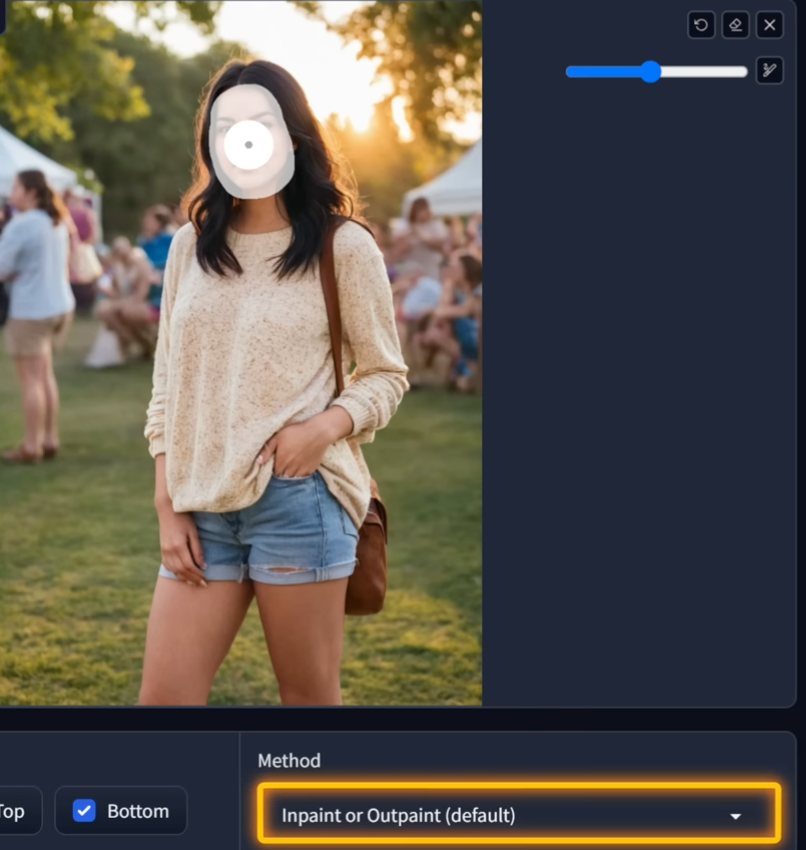
- Click Generate.
- Download the improved version.
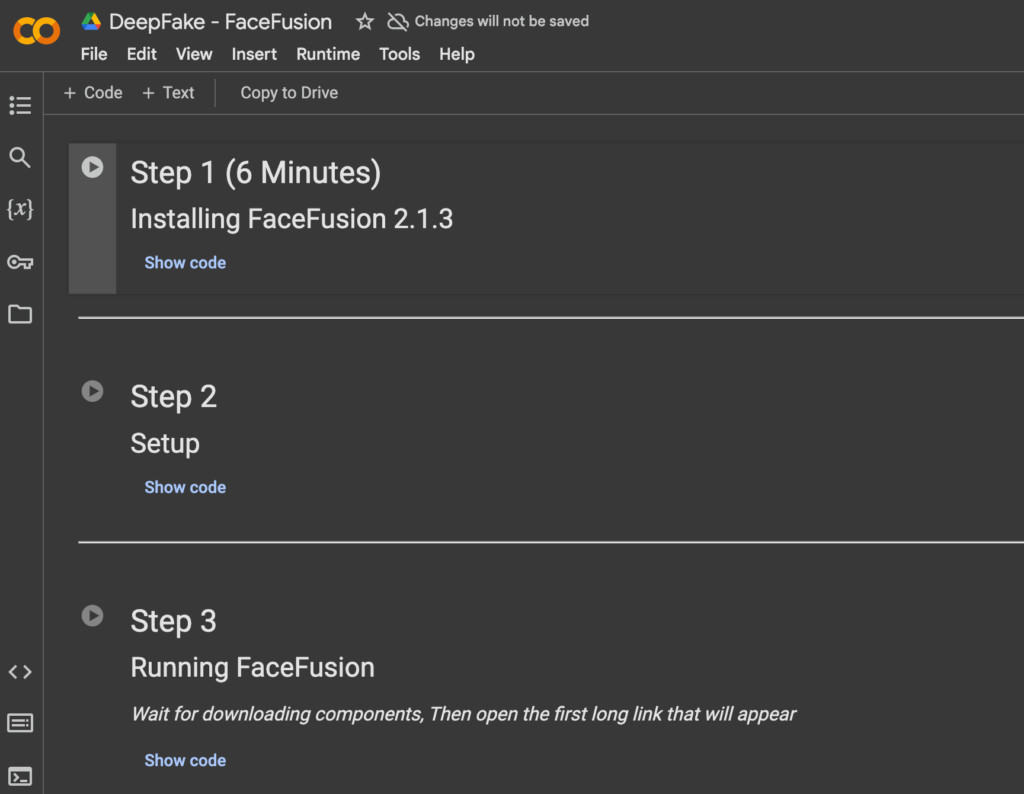
Step 5: Create an AI Video
To animate the AI character, the tutorial uses Face Fusion.
How to Use Face Fusion for AI Videos
- Open Google Colab and search for Face Fusion.
- Click Here and open the tool.
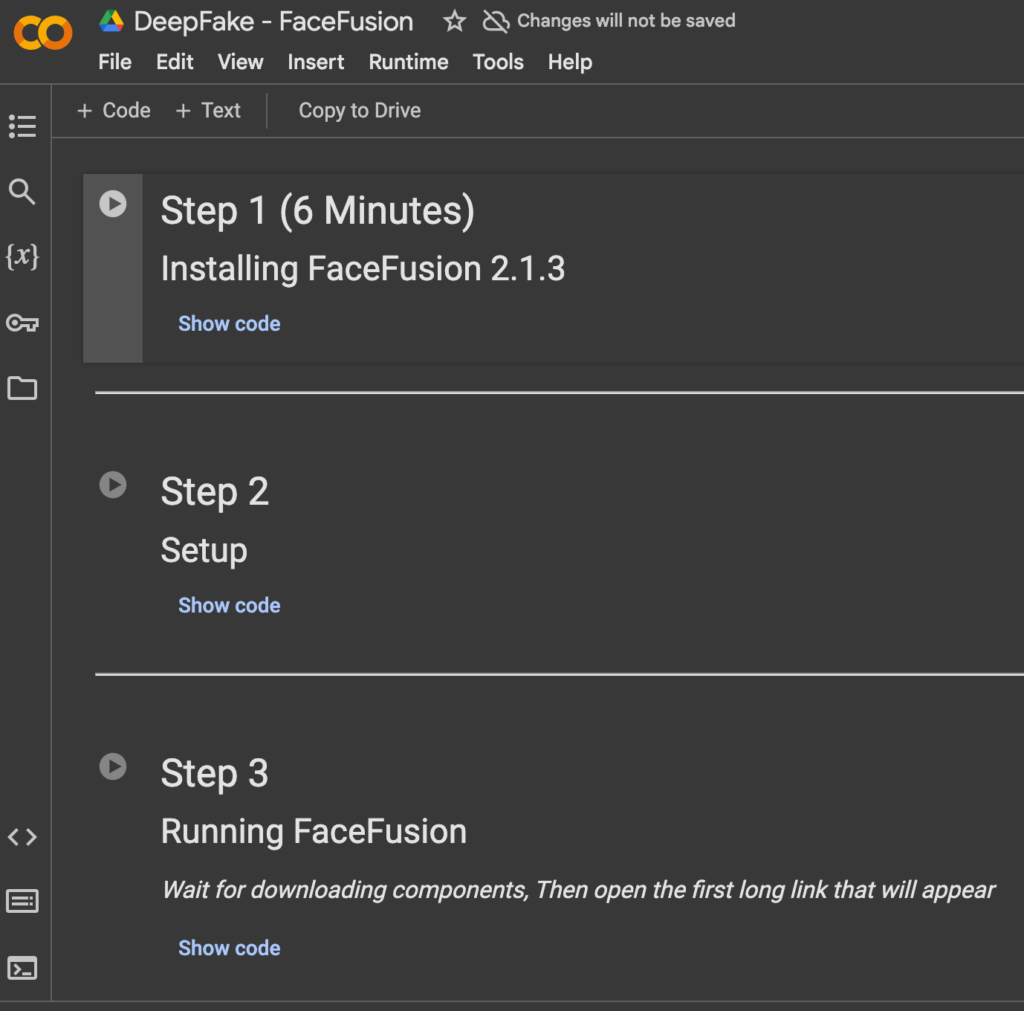
- Connect to the server and run three scripts:
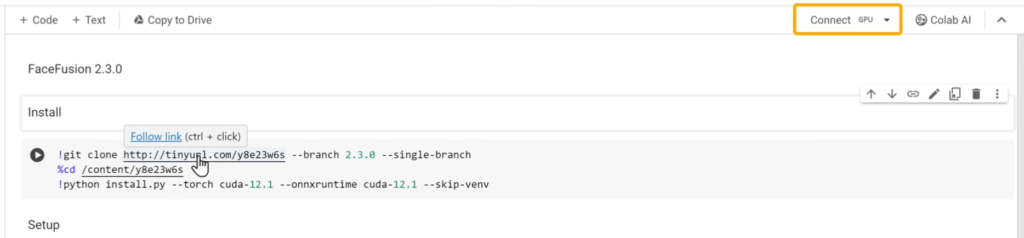
- Click Play > Run Anyway for each.
- And then do the same for remaining 2 files too.
- Once it’s done here you can see I get the link to Face Fusion Tool.

- Access the Face Fusion tool through the generated link.

Creating the AI Video
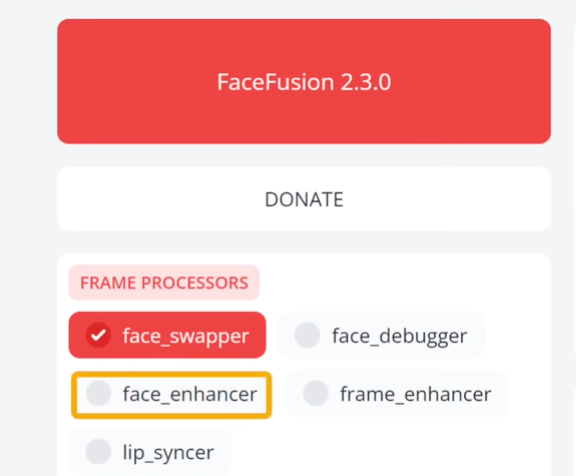
- Choose the Face Enhancer.
- Upload the AI character image in Face Fusion.
- Upload a video for face swap:
- Use your own footage or download free stock videos.
- Ensure you have permission to use the video to avoid legal issues.

- Click Start to generate the AI video.
- Preview the result and download the final output.

Final Steps: Publish & Promote
- The AI video is ready to upload on Instagram, YouTube Shorts, or TikTok.
- Maintain consistency with the same AI character and voice for branding.
This method allows anyone to create a digital AI influencer in minutes with advanced tools like Fooocus and Face Fusion.


Post Comment